Sheet Processing
In Crypto WorkFlo, workflow processes are executed in the context of a spreadsheet. Data required by the workflow process is read from the spreadsheet, and decision or task outcomes are written back to the sheet. Formulas baked into the spreadsheet using the Workflow Designer calculate the formulated values each time it is updated.
Create a New Workflow Process Instance
Navigate to the Sheet Processing application and click on the
icon. A dialog will pop up from which you can select the active workflow process you want to execute.
Once you have selected the desired process to execute, a new spreadsheet instance will be created.
Fill in the description and click on the
icon
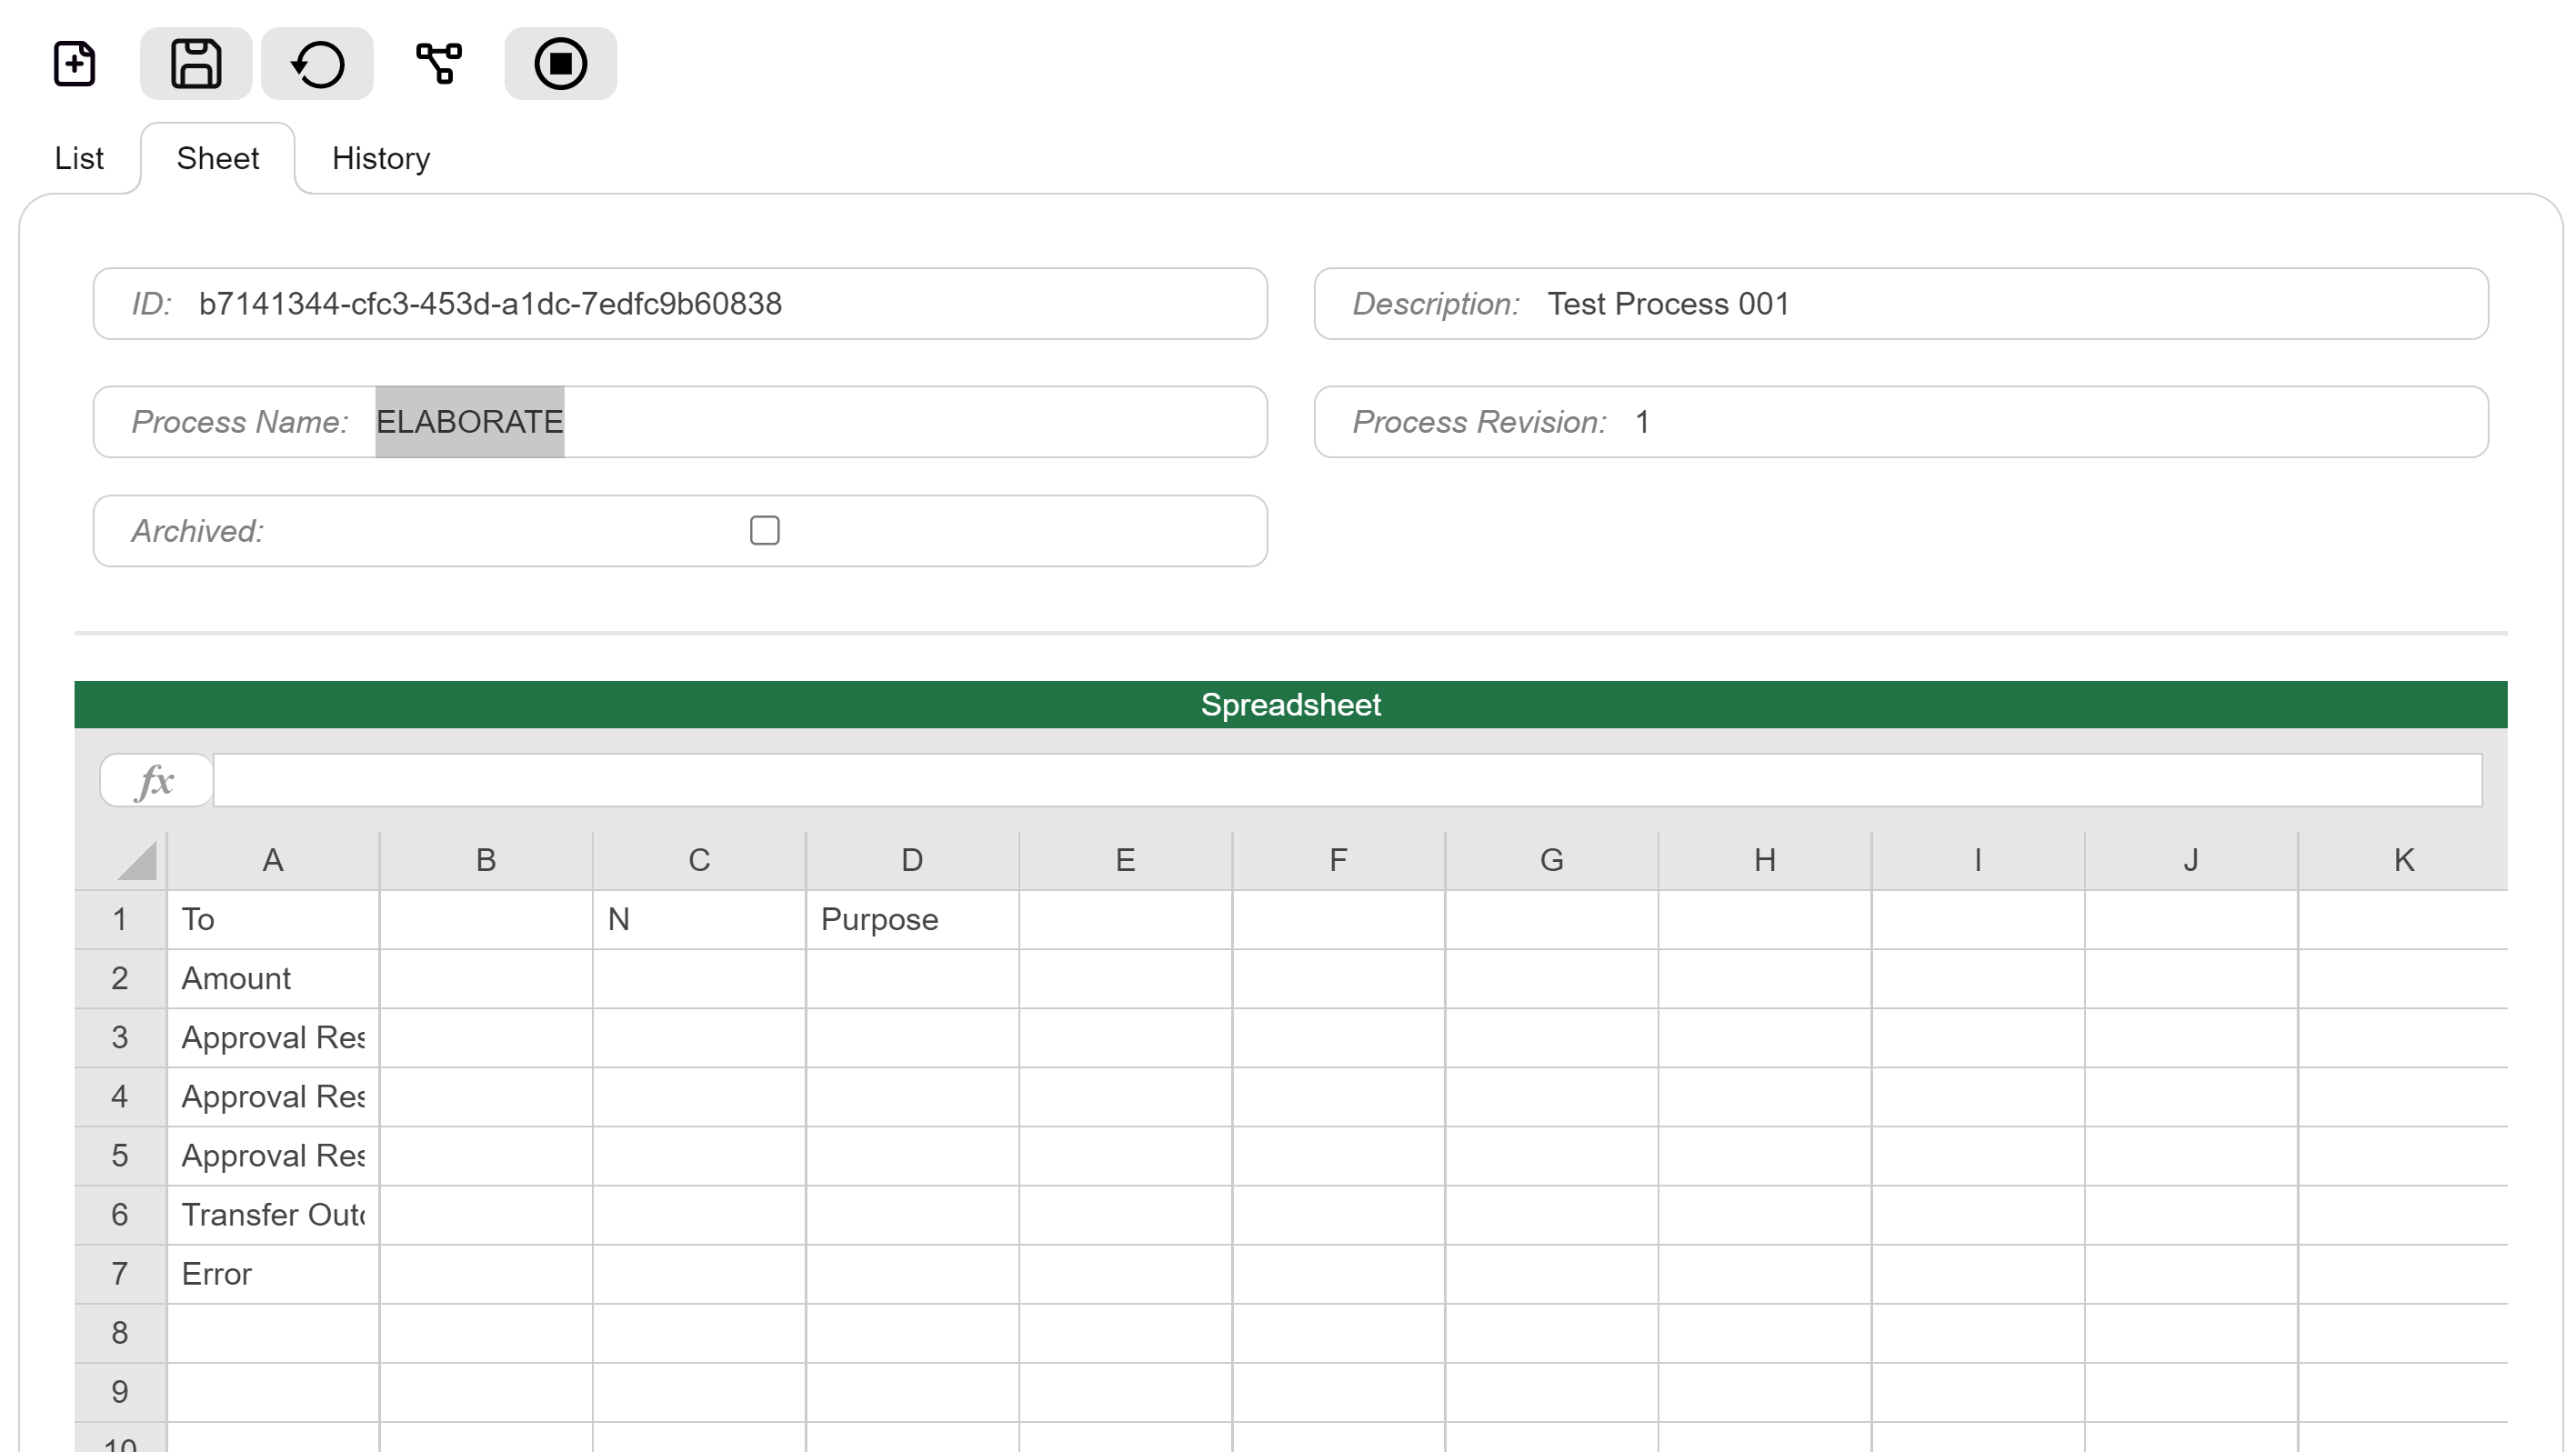
to save the process. The workflow process will not have been started yet at this point. See the example
below of a freshly created workflow instance.

Note: The spreadsheet is not editable, because the intent is that all changes to the spreadsheet be done via the workflow process. In the event that a value needs to be edited directly for whichever reason, then only users who also have the DESIGNER role will be able to directly edit the values in the spreadsheet.
If you navigate to the History tab, no history records will be displayed because the workflow process associated with this spreadsheet has never been run before.

Route to Workflow
To start the workflow process, you need to click on the Route Workflow button:
. This will start the workflow process and progress through the workflow nodes. If at any
point it reaches an assignable node, the workflow process will create the assignments and pause.
Should you happen to be an assignee, the workflow process will automatically route again and
display the relevant dialog to you. It will continue with this cycle until it reaches a node for
which you are not an assignee and it will stop or pause, depending on the specific node reached.
If you have opened a workflow instance/sheet which is already in workflow, the Route Workflow
button will be in one of two forms. It either will look like this:
which indicates that it is assigned to a role of which you are a member and you can continue processing
through the nodes by pressing on this button. Alternatively, it will look like this:
, which indicates that the node is assigned, but not to a group to which you belong. You
cannot do anything with this workflow process.
If you want to stop the workflow process, you can click on the button. Note that stopping a workflow process could be problematic, depending on how the workflow
process was designed. In general, workflow processes need to be designed with restarting in mind
to properly handle it. Please check with your workflow designer.
After a workflow process has been routed for the first time, the history tab will show the nodes visited, and the current node on which the workflow process paused (or stopped).
